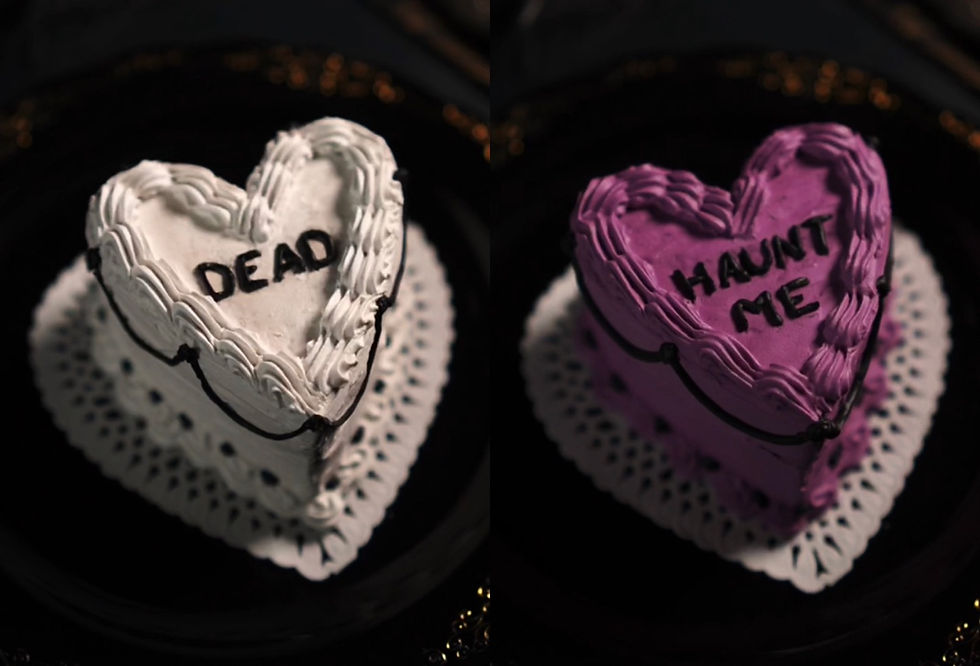
Creep Heart Trinket Boxes (FAKE CAKE)
- Nikk Alcaraz
- Jul 7, 2022
- 2 min read
Looks can be deceiving. You probably think this is a sweet treat to eat, but you're wrong.

Fear is the icing on the cake. These Creep Heart Boxes are a scream! They are perfect to make as gifts, or to add a touch of whimsy to your decor. Try to restrain yourself from wanting to devour these fake cakes.
MATERIALS
-Small paper mache boxes
-Wall Spackling. (Alex Plus DAP Spackling)
-Acrylic Paint
-Cake Tips
-Pipping Bags
-Cake Spatula
-Mixing Stick
-Clear Acrylic sealer spray
-Mod Podge
-Paint Brushes
INSTRUCTIONS
-Add wall spackling to a disposable bowl and mix in a bit of acrylic paint. Stir with a mixing stick until you get your desired color and texture. It should be a pipeable consistency.
-Using a cake spatula, spread the colored spackling on the box with the lid on. Just like icing a cake. (It's okay to spread it over the line that separates the lid from the box.)
-Once covered, remove the lid from the bottom and smooth over the finger prints. (I do it this way for consistency in icing texture and pattern.)
-Let dry completely.
-Once dry, brush Mod Podge around the circumference of the box and around the bottom. This will help the decorative icing stick better. Mix a different color of spackling for the decorative icing. I used a star tip to pipe around the edges.
- Let the piece dry over night before handling.
-Spray with a clear acrylic sealer.
AND BAM! PERFECT CREEP HEART BOXES
NOTES*
*I have tested many spackling products and I find that "Alex Plus DAP Spackling" is the most sturdy.
*Dry time is important for the success of this project.
*Don't add too much acrylic paint to the spackling. You still want a pipeable consistency.
*If a color isn't getting as deep as you'd like, you can always paint directly over the cake once it has dried.
*Separate the lid from the box before spraying the box with the clear acrylic sealer. This will prevent it from sticking closed.
LINKS
Alex DAP Plus Spackling
Heart Boxes


Comments